
How to Make Wax Seals for Letters and Envelopes
GOODBYE JANUARY! January sure did drag on for a while, right? Not sure if it was the shorter days and the lack of light but at some points in the month I was feeling up and down like a see-saw. Or even post-blue Christmas holiday feels certainly lingered on; seeing my friends and family over the Christmas period made me feel guilty for not being closer to them. I suppose it’s one of the downsides of being far apart from your folks, I mean, I can jump on the train and see them. But that means spending ‘X’ amount on train fares and only having a short amount of time to seeing everyone *sighs*.
The wedding prep has been a rather nice distraction from all of this and I can say that although I haven’t done as much art as I’d like to, I’ve picked up paper craft pretty quickly and I love looking on Pinterest for inspiration and ideas. In this post I’ll be writing about wax seal stamps and how to make them for letters and envelopes. Firstly, I’m going to be honest and say that I’m not a pro at this; all of these skills I’ve picked up are from YouTube and Pinterest plus trial and error! I was never intending on making wax seals for our invites but Sam’s mum sent me some photos of some (probs Pinterest if I remember correctly) and since then I was completely hooked onto the idea of it- there’s something about wax seals that makes it so much more personal since no two seals are the same. You just need time, patience and an extra pair of hands if you’ve got lots of envelopes to seal!
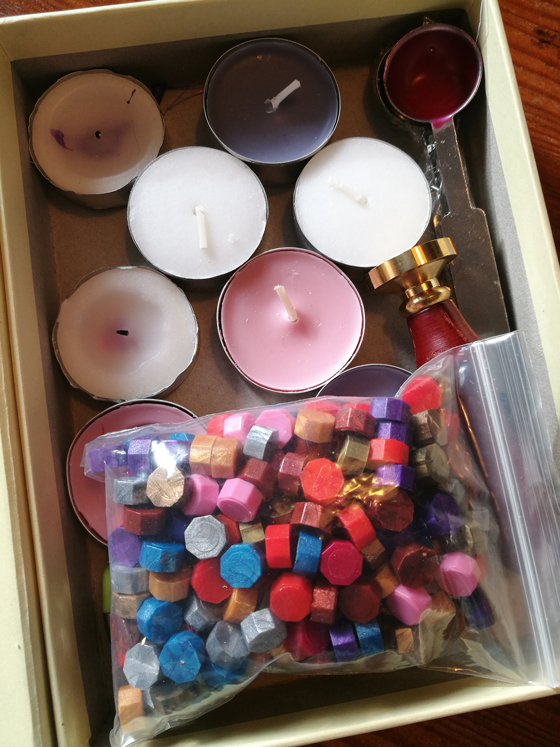
I bought my stamp from Etsy and it was reasonably priced for what you get: one stamp, three wax sticks, two tea lights and a metal spoon. There are loads of different designs online but if you want a custom one, then you’d need to contact the seller/maker with what you want. I wanted a simple flower design to match the invites: nothing fussy or over complicated.
What You’ll Need
- One stamp
- Tea lights (good quality ones though)
- Wax sticks or pellets like the one in the photo
- Spoon
- Lighter
- Damp cloth
- A small dish so you prop your spoon whilst you’re melting the wax
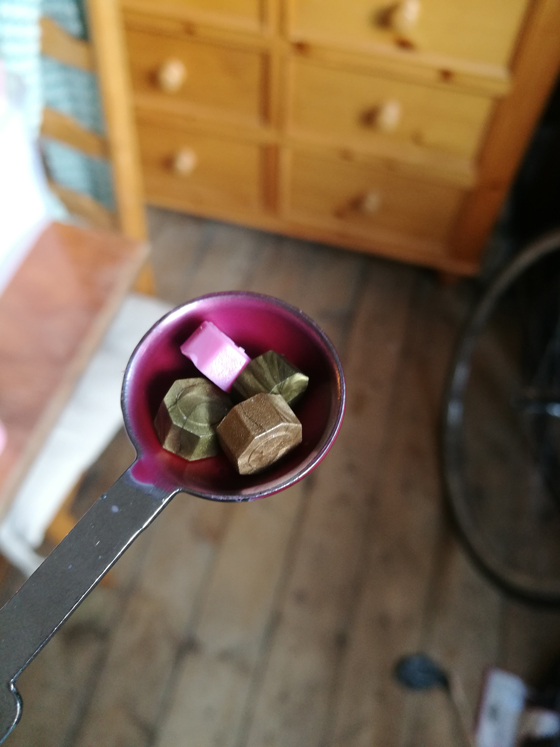
I found that using the wax pellets were way more easier than using the wax sticks. The wax sticks can be quite fiddly to melt especially when you get towards the end of it and it turns into a stubby, little mess! I tried cutting it into pieces, which I failed as the stick was pretty hard to cut through. The main advantage of using the wax pellets is that you can mix different ones together much easily to get a marble-type effect. You can still do the same thing with wax sticks but it’s just a tad more faffing around with the wax sticks. Just take care when you’re doing this though especially if you’ve got children, cats, dogs etc. around your workspace- soz if I sound completely patronising but safety is always first though!!!!
- Heat up the metal spoon over the tea light for a couple of minutes and place the wax pellet into the spoon.
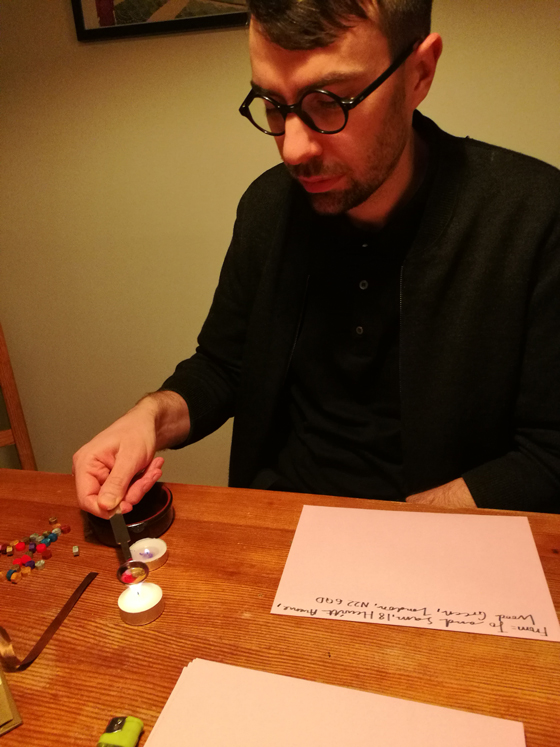
You’ll know when the wax is ready if you give it a bit of a swish. Don’t worry, the wax comes out pretty slowly as I thought that the wax would be super runny! Also, don’t fill it up too much otherwise the wax will seep out.
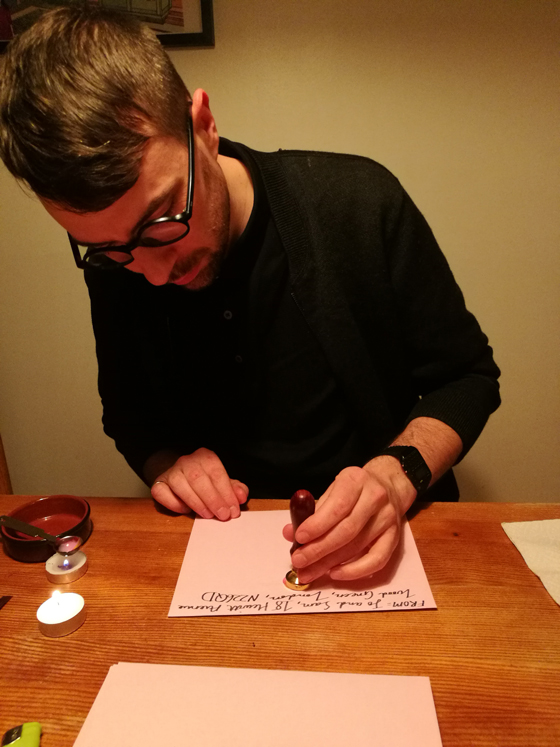
2. Once the wax is ready pour it into the centre of the envelope in a circular motion.
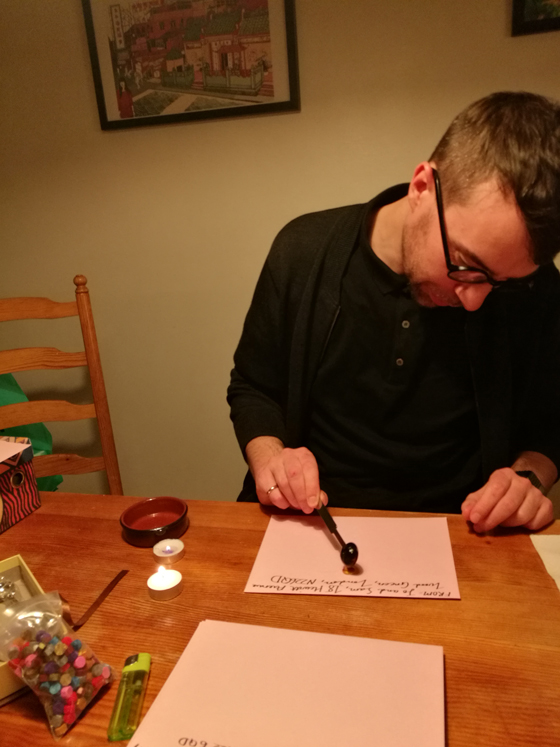
3. Now place the stamp over the wax for a couple of seconds, slight pressure to the stamp but not too much though.
4. Done! Keep going with different types of colour for a marble effect and remember to put the tea light out when you’ve finished. Give the spoon a wipe with a damp cloth to remove any residues.
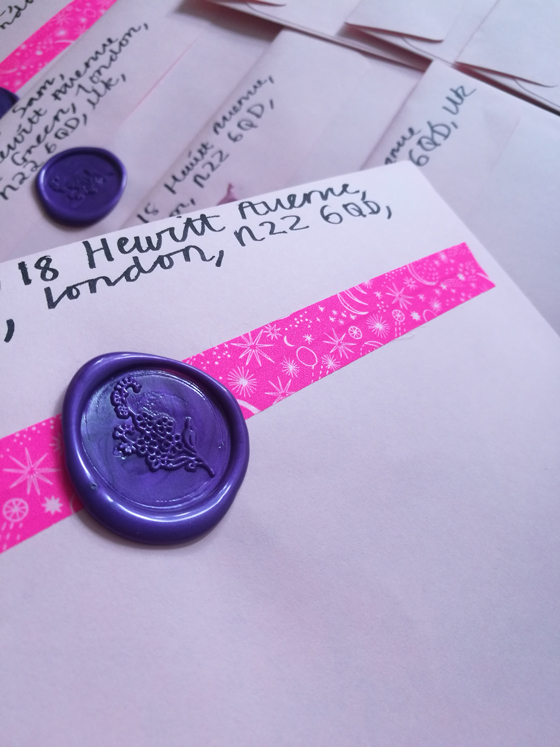
You can play around with different colour waxes for different effects- the possibilities are limitless (depending on what your colour theme is).
That’s all for now and happy crafting everyone! I’d love to see what your seals look like and any tips/hints please do post them in the comments section.