How To Make Paper Flowers using a Die Cutting Machine
This is not a sponsored post nor am I affiliated with any advertising/promotional deals.
Hello folks! I’m going to start a series of DIY guides for wedding-related craft projects. As you may know, Pinterest is such a wonderful source of inspiration and I’m forever looking at posts for ideas for our wedding. I started a board years ago and it’s been such a great tool for art and craft projects. However, sometimes I get way too carried away and go off on a tangent for several hours!
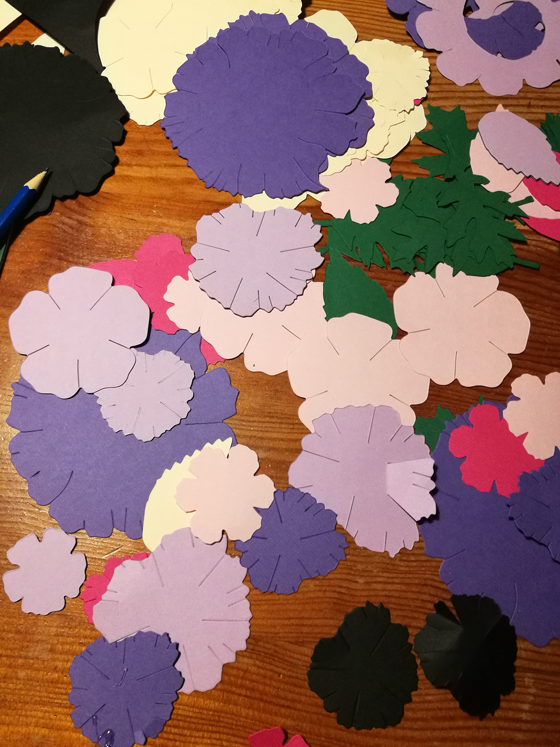
My main task for the wedding reception is that I wanted to create something quite opulent, flower-inspired since my invites are along that theme, so I’ve decided to make paper flowers as a start and from there use them to make a chandelier as well as garlands. I started off cutting out circles and then making them 3D shape so that they can sit nicely once they’re all bunched together. My only issue with this method is that it does takes ages and you need to have patience/music in the background to keep you going. I also found that it’s very difficult to get the flowers all looking the same, not like I wanted them to, but I was unable to to anything intricate due to the time factor.
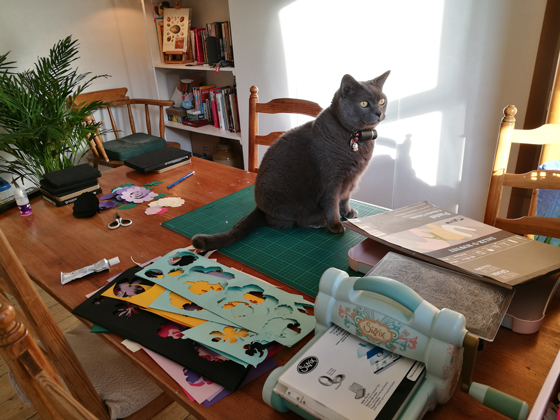
I came across a die-cutter thanks to my aunt, who has kindly let me borrow hers, and I’ve honestly not looked back since I’ve been using it! It’s saved me so much time and I’ve been churning loads of flowers out like a pro! I think there are numerous brands of die-cutters but I’ve been using one called the Sizzix. It’s pretty straight forward to use and so far I’ve not encountered any problems with it. There are loads of options of different dies too so I’ll buy a few more so that there’s variations in the types of flowers. For me, it feels really durable and the die cutter has some weight to it- so it feels super sturdy when you’re holding it.
What You’ll Need
- Die-cutting machine (you can by them online or in craft shops)
- Paper (lots of it!)
- Pencil
- Heavy-duty ruler
- Scalpel or scissors
- Cutting mat
- Glue (I like to use super glue)
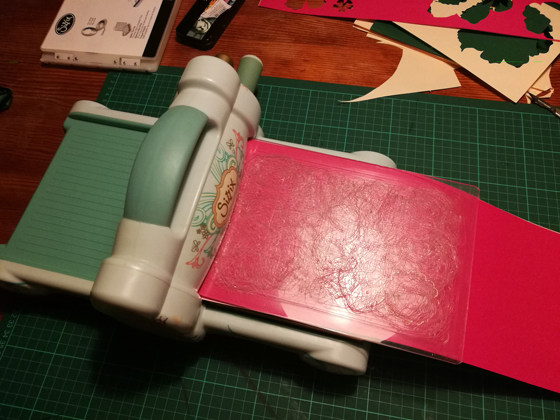
- Prep your paper so that it sits nicely between the plastic board and the die. You’ll want to cut it so that it can fit through the die cutter- so I tend to measure up all my paper and cut them to the right size.
2. When your paper is sandwiched between the plastic boards and the die (the foam side facing upwards like in the photo above), you’ll want to leave at least a 1cm gap when you’re feeding it through. Gently push it through and start to turn the handle. At this point, you’ll be able to feel the rollers grip onto the plastic boards.
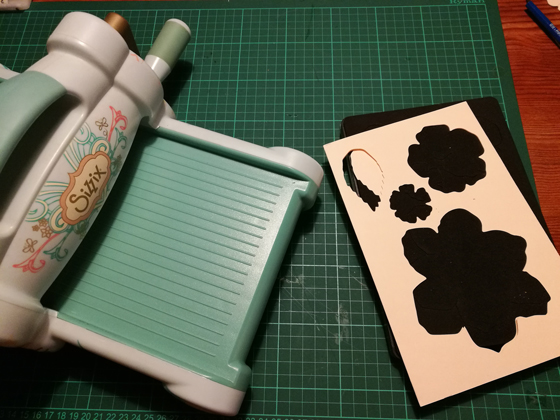
3. Done! Well almost. I usually keep going at this point, mixing up the papers until I have enough to keep me going.
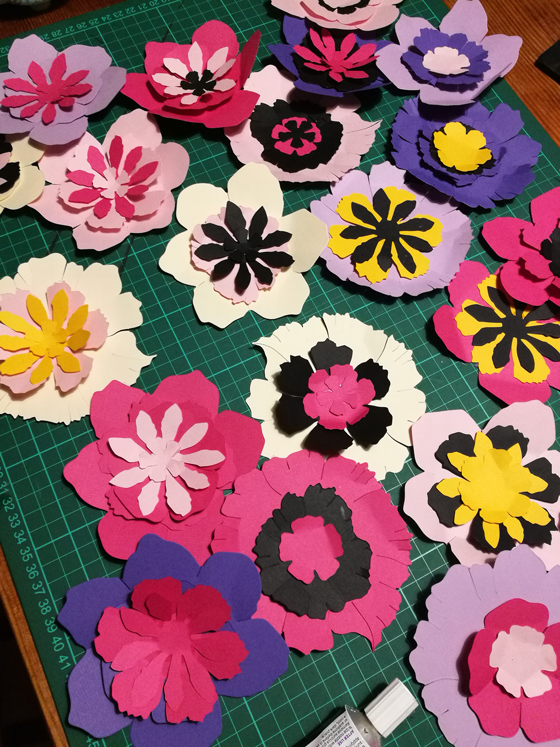
4. Once you’ve cut out all your layers you’ll want to start layering up the bits of paper. I fold the petals inwards so that they’re 3D-looking and using different types of paper/card will give you different effects.
Note: try using plain paper and washing it down with light water colours or spray paint to get different effects.
And that’s pretty much it. I’ve found that the more you try out different types of paper, the variations are limitless. There are lots of helpful online tutorials if you get stuck but personally once you start using it’s really so easy to use.
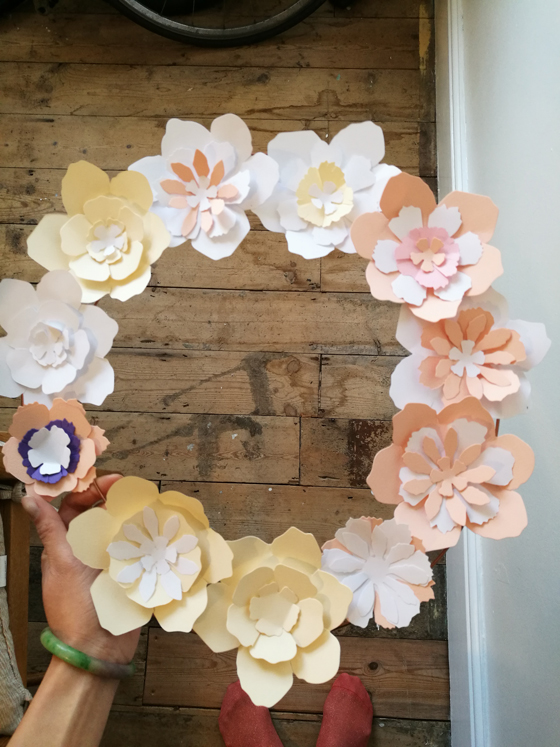
I hope I’ve inspired you to create your own paper flowers; even with or without the dit cutter you can still make simple paper flowers even it’s cutting out the petals and arranging them on a circular paper disc, continuing to layer them up as you go.
Happy crafting folks!