Wedding Tag

I’ve been waiting for so long to write up this post and, well, the moment you’ve all been waiting for folks: the WEDDING INVITE REVEAL! Yes, the day has finally come where I can show you my wedding invites- I’m super excited right now!

It’s been one of the best pieces of works I’ve done, not only because it’s personal and right from the heart, but I think it’s every designers dream to design their own wedding invites. The whole process took me over a month and a half from start to finish- I started it way back at the start of August of last year and kept on editing it over the past couple of months, but had to stop myself from doing anymore to it other I could’ve gone on and on!

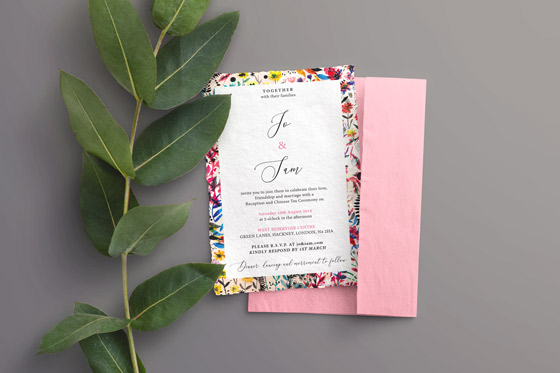
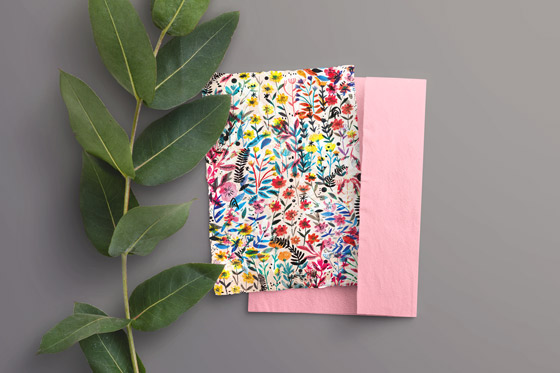
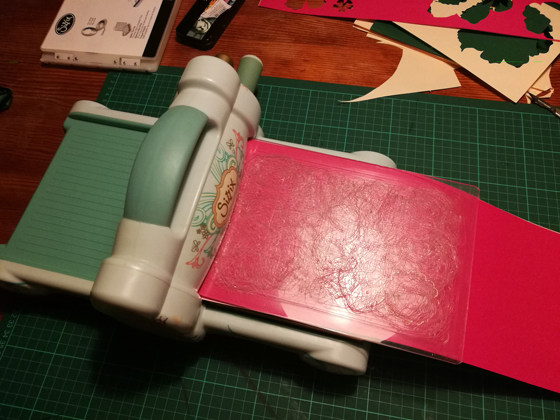
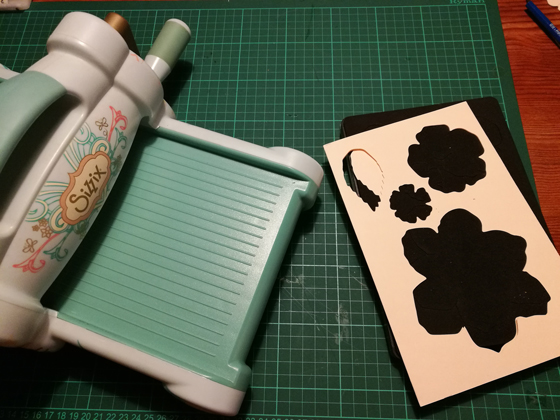
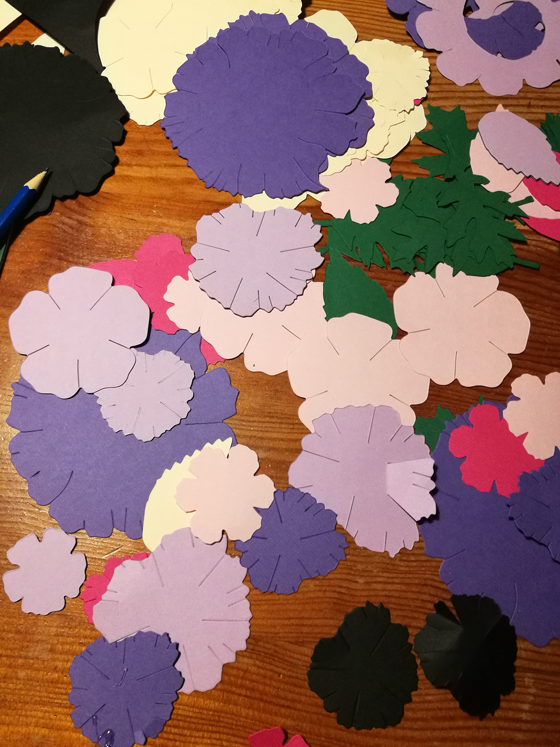
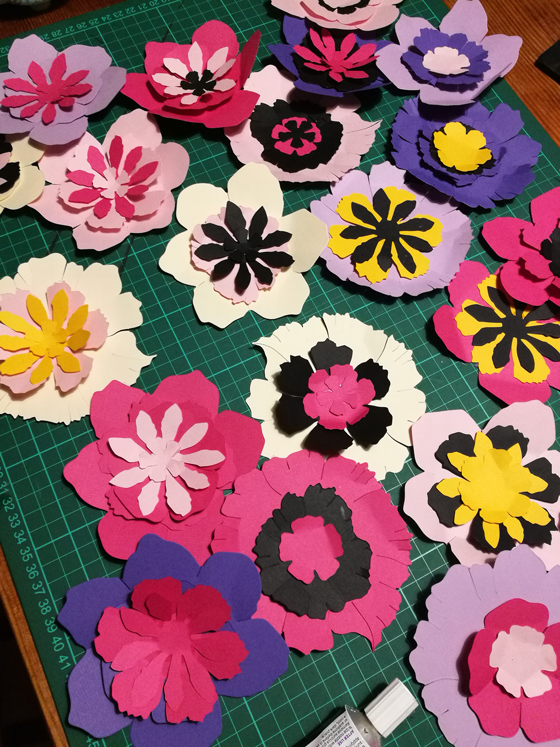
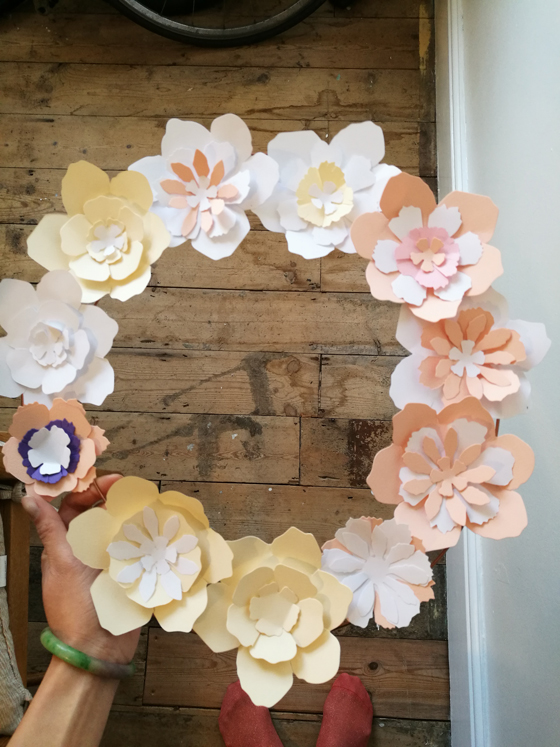
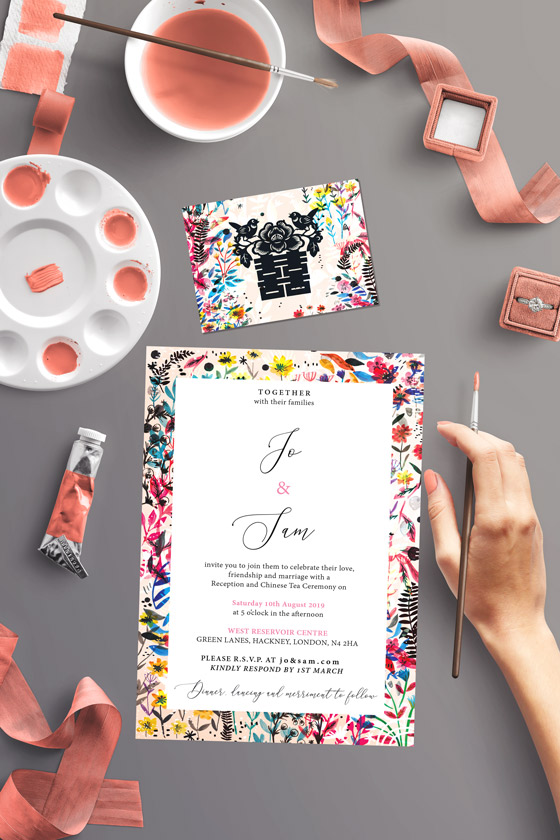
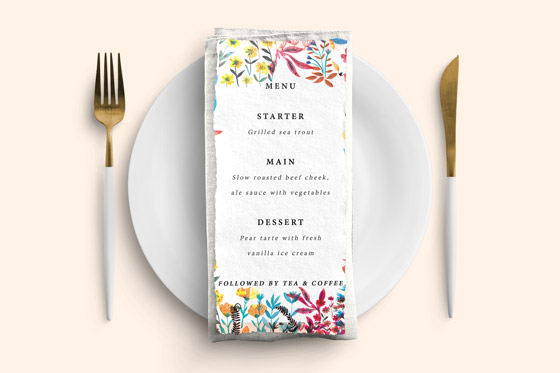
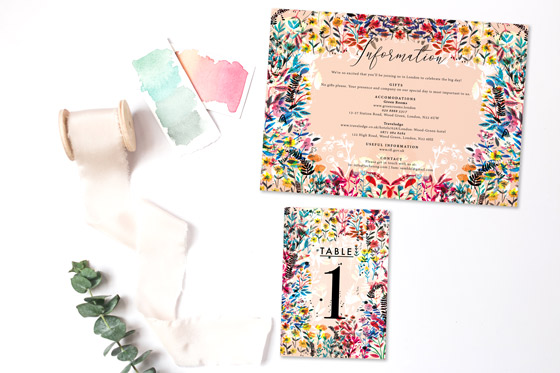
The floral design for the background started off as a couple of small paintings and I then digitally edited the final image in Photoshop. I used inspiration from our travels to various National Trust places last summer and I was inspired by all the seasonal flowers during our time at these places.

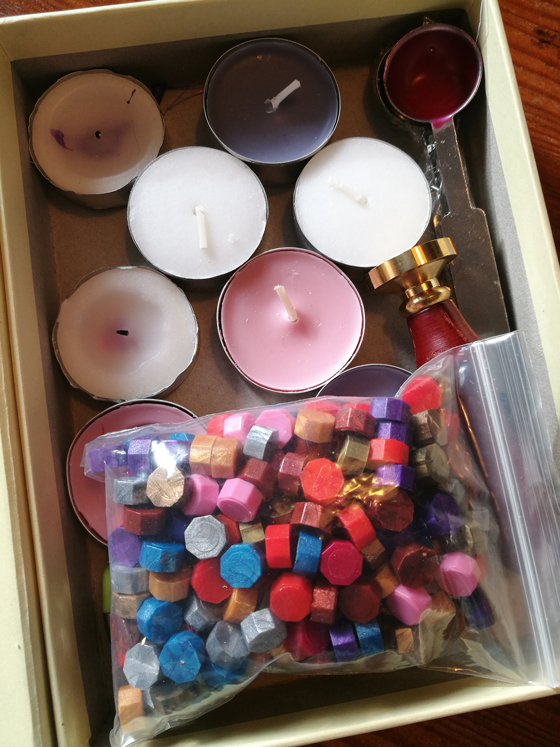
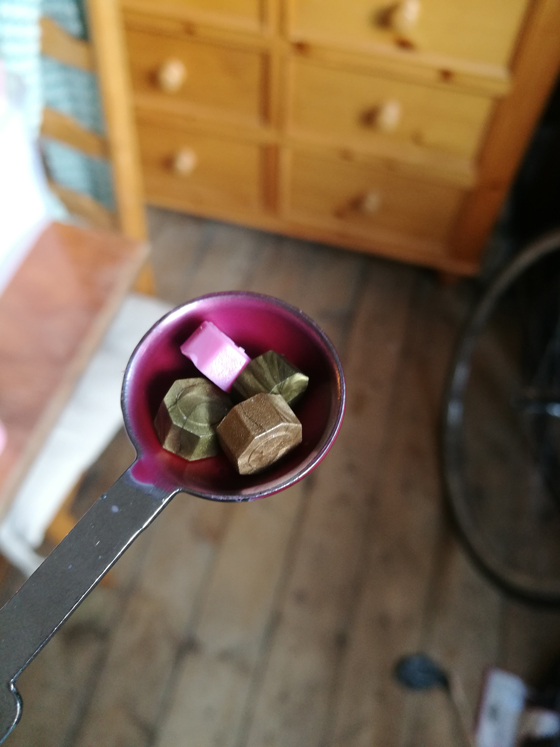
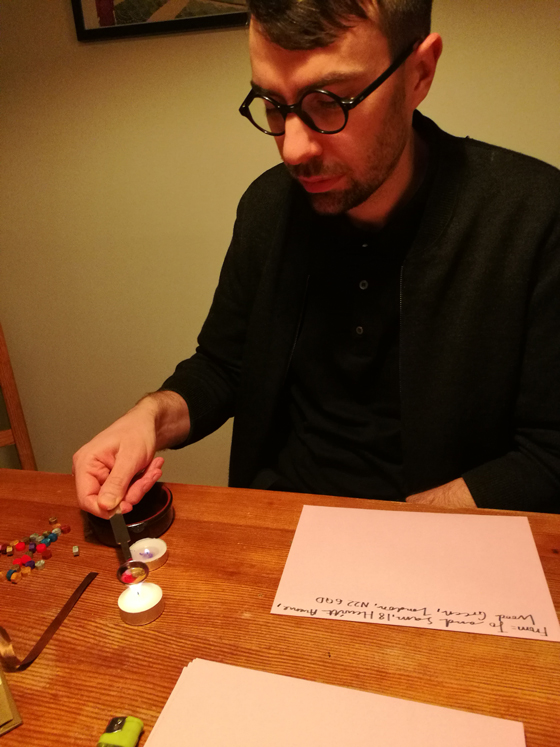
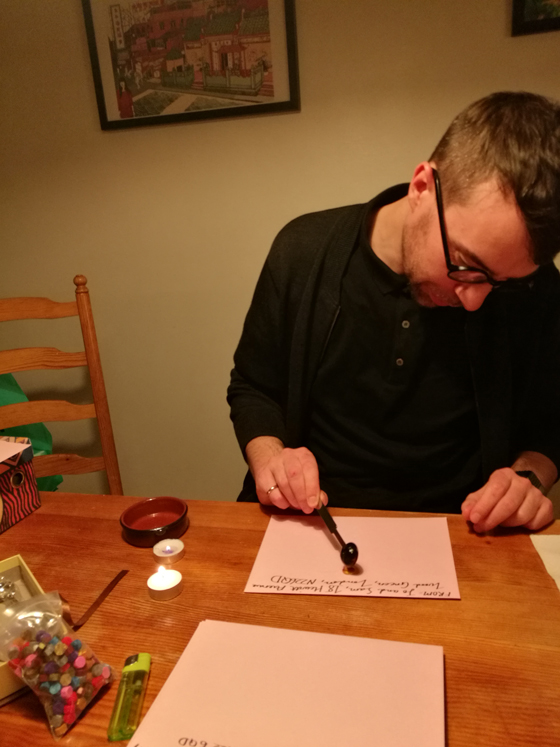
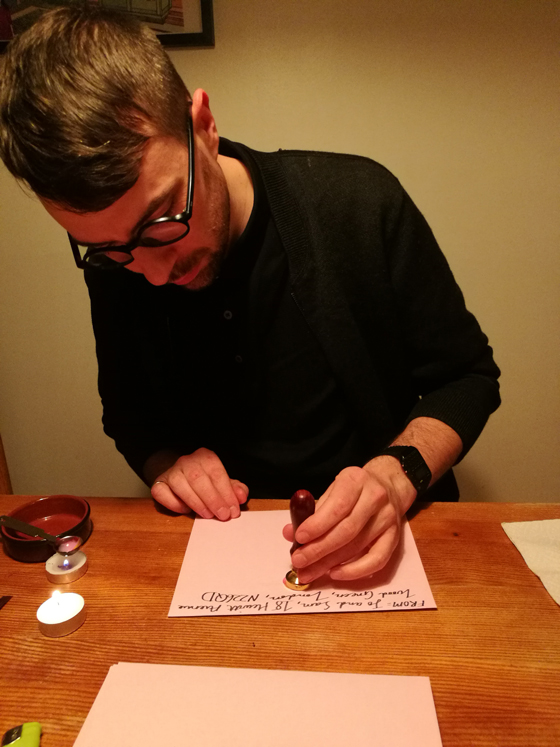
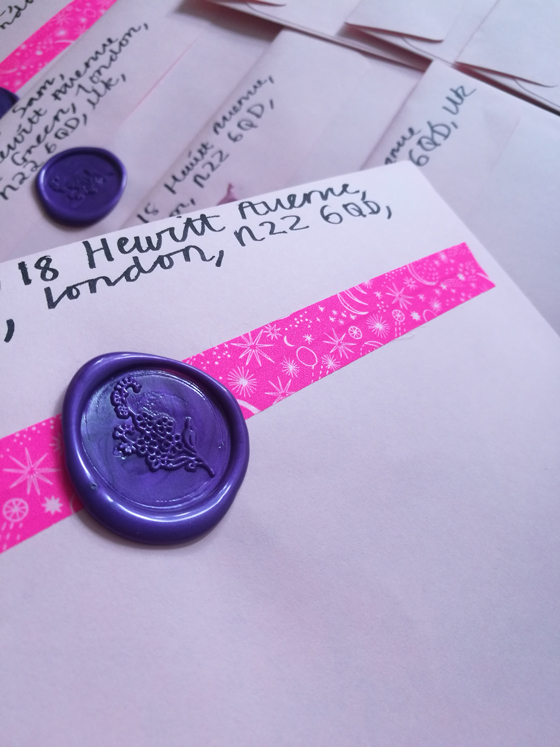
For the insides of the envelopes I continued with the floral theme and designed an insert, as well as incorporating a floral motif for the wax seals.

Once I had the design I can use it on other things such as the menus, table seatings, table numbers etc. I wanted the text to be quite clear, bold and clean looking so I used a combination of fonts such as Futura, a hand written font for our names and a modern Times font to compliment the overall design.

My Tips for Designing your own Wedding Invites

  • Have fun with it!
  • Be creative with your design. Some people choose to opt for an email as printing costs can be quite pricey- go with what you want to do and whatever you feel happy with.
  • Decide what elements you want (e.g. text) and keep it simple.
  • Look at what colours go together and choose a couple, too much can look way too busy.
  • I looked online on how to write the intro but you can obviously make your own one up depending on how you want it to sound.
  • Look around for design inspiration, ask a friend to help you go over it i.e. spelling mistakes etc. as sometimes it’s quite hard to pick it up when you’ve spent hours on the screen looking at the same thing!
  • When deciding on the paper I want for something that wasn’t too heavy but still had some texture to it. Minted and Printed both give free samples so you can look at what paper they offer. There are of course lots of other printing companies that offer paper samples, just look around or ask around.
  • I bought the envelopes separately as I wanted to have a different colour as to what the printers were offering. Go with what you feel is best.

That’s it for now and I hope you’ve enjoyed reading this. It’s not long now until the wedding- about six months to go now!

Happy Tuesday and enjoy the rest of the week.

GOODBYE JANUARY! January sure did drag on for a while, right? Not sure if it was the shorter days and the lack of light but at some points in the month I was feeling up and down like a see-saw. Or even post-blue Christmas holiday feels certainly lingered on; seeing my friends and family over the Christmas period made me feel guilty for not being closer to them. I suppose it’s one of the downsides of being far apart from your folks, I mean, I can jump on the train and see them. But that means spending ‘X’ amount on train fares and only having a short amount of time to seeing everyone *sighs*.

The wedding prep has been a rather nice distraction from all of this and I can say that although I haven’t done as much art as I’d like to, I’ve picked up paper craft pretty quickly and I love looking on Pinterest for inspiration and ideas. In this post I’ll be writing about wax seal stamps and how to make them for letters and envelopes. Firstly, I’m going to be honest and say that I’m not a pro at this; all of these skills I’ve picked up are from YouTube and Pinterest plus trial and error! I was never intending on making wax seals for our invites but Sam’s mum sent me some photos of some (probs Pinterest if I remember correctly) and since then I was completely hooked onto the idea of it- there’s something about wax seals that makes it so much more personal since no two seals are the same. You just need time, patience and an extra pair of hands if you’ve got lots of envelopes to seal!

I bought my stamp from Etsy and it was reasonably priced for what you get: one stamp, three wax sticks, two tea lights and a metal spoon. There are loads of different designs online but if you want a custom one, then you’d need to contact the seller/maker with what you want. I wanted a simple flower design to match the invites: nothing fussy or over complicated.

What You’ll Need

  • One stamp
  • Tea lights (good quality ones though)
  • Wax sticks or pellets like the one in the photo
  • Spoon
  • Lighter
  • Damp cloth
  • A small dish so you prop your spoon whilst you’re melting the wax

I found that using the wax pellets were way more easier than using the wax sticks. The wax sticks can be quite fiddly to melt especially when you get towards the end of it and it turns into a stubby, little mess! I tried cutting it into pieces, which I failed as the stick was pretty hard to cut through. The main advantage of using the wax pellets is that you can mix different ones together much easily to get a marble-type effect. You can still do the same thing with wax sticks but it’s just a tad more faffing around with the wax sticks. Just take care when you’re doing this though especially if you’ve got children, cats, dogs etc. around your workspace- soz if I sound completely patronising but safety is always first though!!!!

  1. Heat up the metal spoon over the tea light for a couple of minutes and place the wax pellet into the spoon.

You’ll know when the wax is ready if you give it a bit of a swish. Don’t worry, the wax comes out pretty slowly as I thought that the wax would be super runny! Also, don’t fill it up too much otherwise the wax will seep out.

2. Once the wax is ready pour it into the centre of the envelope in a circular motion.

3. Now place the stamp over the wax for a couple of seconds, slight pressure to the stamp but not too much though.

4. Done! Keep going with different types of colour for a marble effect and remember to put the tea light out when you’ve finished. Give the spoon a wipe with a damp cloth to remove any residues.

You can play around with different colour waxes for different effects- the possibilities are limitless (depending on what your colour theme is).

That’s all for now and happy crafting everyone! I’d love to see what your seals look like and any tips/hints please do post them in the comments section.

This is not a sponsored post nor am I affiliated with any advertising/promotional deals.

Hello folks! I’m going to start a series of DIY guides for wedding-related craft projects. As you may know, Pinterest is such a wonderful source of inspiration and I’m forever looking at posts for ideas for our wedding. I started a board years ago and it’s been such a great tool for art and craft projects. However, sometimes I get way too carried away and go off on a tangent for several hours!

My main task for the wedding reception is that I wanted to create something quite opulent, flower-inspired since my invites are along that theme, so I’ve decided to make paper flowers as a start and from there use them to make a chandelier as well as garlands. I started off cutting out circles and then making them 3D shape so that they can sit nicely once they’re all bunched together. My only issue with this method is that it does takes ages and you need to have patience/music in the background to keep you going. I also found that it’s very difficult to get the flowers all looking the same, not like I wanted them to, but I was unable to to anything intricate due to the time factor.

I came across a die-cutter thanks to my aunt, who has kindly let me borrow hers, and I’ve honestly not looked back since I’ve been using it! It’s saved me so much time and I’ve been churning loads of flowers out like a pro! I think there are numerous brands of die-cutters but I’ve been using one called the Sizzix. It’s pretty straight forward to use and so far I’ve not encountered any problems with it. There are loads of options of different dies too so I’ll buy a few more so that there’s variations in the types of flowers. For me, it feels really durable and the die cutter has some weight to it- so it feels super sturdy when you’re holding it.

What You’ll Need

  • Die-cutting machine (you can by them online or in craft shops)
  • Paper (lots of it!)
  • Pencil
  • Heavy-duty ruler
  • Scalpel or scissors
  • Cutting mat
  • Glue (I like to use super glue)
  1. Prep your paper so that it sits nicely between the plastic board and the die. You’ll want to cut it so that it can fit through the die cutter- so I tend to measure up all my paper and cut them to the right size.

2. When your paper is sandwiched between the plastic boards and the die (the foam side facing upwards like in the photo above), you’ll want to leave at least a 1cm gap when you’re feeding it through. Gently push it through and start to turn the handle. At this point, you’ll be able to feel the rollers grip onto the plastic boards.

3. Done! Well almost. I usually keep going at this point, mixing up the papers until I have enough to keep me going.

4. Once you’ve cut out all your layers you’ll want to start layering up the bits of paper. I fold the petals inwards so that they’re 3D-looking and using different types of paper/card will give you different effects.

Note: try using plain paper and washing it down with light water colours or spray paint to get different effects.

And that’s pretty much it. I’ve found that the more you try out different types of paper, the variations are limitless. There are lots of helpful online tutorials if you get stuck but personally once you start using it’s really so easy to use.

I hope I’ve inspired you to create your own paper flowers; even with or without the dit cutter you can still make simple paper flowers even it’s cutting out the petals and arranging them on a circular paper disc, continuing to layer them up as you go.

Happy crafting folks!

Hello folks! How’s your week been? The sunshine has been absolutely glorious, hasn’t it? I’ve been hanging outside for as long as possible these days and the fact that it doesn’t get dark until later in the evenings, well, it’s fantastic!


I spent the half-term designing the wedding invites and I’m so happy with them! I showed Sam them the other evening and he’s over the moon. Unfortunately, I can’t reveal anything as it would be a bit of a bummer to post it here waaaaay before any friends or families have seen them. All will be revealed very soon- I promise!


I wanted to spend this post showing some more wedding ideas- this time on accessories for the bride, decoration inspiration and more! It’s going to be an explosion of colours this post.


In my first post I touched upon the style of the wedding dress that I wanted-and to go with it- if I could find an interesting headpiece or embroidered gloves to go with it then, hell yeah, I’ll be going for it. Think: quirky, different, surreal.


By now, my Pinterest boards are filled with beautiful images of all things flower-related: pattern designs, dresses, books, decoration ideas etc. I’m in the mood for big, bright and gorgeous flowers- even it if means wearing some on my head I’ll be totally happy with that. I came across a couple of DIY tutorials of how to make gigantic flower decorations so I thought I’d give it a go in the summer and experiment with different coloured crepe paper. This also includes roping in friends for the afternoon to give me a helping hand! I’m not exactly a technical wiz when it comes to paper craft, however, I’m more than happy to put some elbow grease into it and crack on with it (whilst drinking copious amounts of wine).


I’m going to round up the last part of the post with some ideas and inspiration for the location. Now, we’ve been talking about this for a while. We still need to 100% confirm on the area since most of our friends and families are based up and down the country, with some living in the USA and in New Zealand. This of course means we have to take into account how easy and accessible it is to get to the area since some people drive and others will be public transporting it (or carpooling). So the location is very important to us as obviously we don’t want it to be a mission for people to get there and to. So we’re looking into hiring out a village hall and possibly having a marquee as it’d be lovely to have the ceremony outside even if it’s chucking it down.


I’m going to end it there and if anyone has any tips or advice please send them my way!


Have a lovely week wherever you are!


Jo x

I had some lovely feedback from my previous post about our wedding ideas. I sound like a right Bridezilla- don’t I?! As much as I love Pinterest, once you spiral down that Pinterest hole there’s no coming back. Literally, spending hours looking at lovely images is easily done!

So I thought I would start off with the theme for the wedding which is simply: party. Party, party, party. I think if Sam could have it any other way it would be like a 24 hour rave like Tresor. No, I’m just joking! Or am I…? We want the day to be a day full of happiness, merriment, drinking (why not?!); a chance to bring loads of people together from all corners of the world. So basically we’re pulling off a big-ass party for 100+ people. I like the idea of it being like a garden party and the great outdoors. We both love going for long walks in the countryside and being out and about when the weather is blazing is what we love doing. Especially visiting National Trust places as well (helps loads if one can drive i.e. Sam and me the passenger who always falls asleep). Ok, I’m proper diverging here, my point being is that we’ve visited so many wonderful places over the past couple of years it’d be great to bring that passion into the wedding. We’re sort of explorers in our own right; continuing to explore the world with each other.


The whole aesthetic and artwork would tie with one another. The wedding invites would be flowers and abstract patterns growing out from the corners and this would be the same for the seating plans, name cards etc. I love that feeling when you have that light-bulb moment, which I often don’t have!


Moving on, we talked about the wedding cake. The cake. We had a heated discussion about this, but it was defo needed though. We decided to go for something simple like a Chinese cream cake- as long as it’s Hello Kitty then it’s all good for me!


We also talked quite a bit about the Chinese side of the wedding as this is when things get a bit complicated. Well, not complicated, but I suppose it’s more about thinking of the order of the day. I get to wear two dresses so boom. I’ll rope my mum, Barbara and Shoz to help me with the Chinese wedding dress and all the other traditional things we need to do but we have absolutely no clue whatsoever. I can’t say anymore than that as I need my parents for the heads up!


We were planning on getting a caterer for the food; as to what type of food we’re undecided but we need to make some calls first to see what they can actually provide. I would also like to have Chinese food as well so I don’t know whether we’ll need a separate caterer for that. In terms of the styling and layout, something quite simple with minimal effort.


Well, I’m going to end it here as I need to crack on with getting the guest listed sorted out! If you have any tips you’d like to share with me please feel free to leave a comment below.


Enjoy the rest of your evening!


Jo