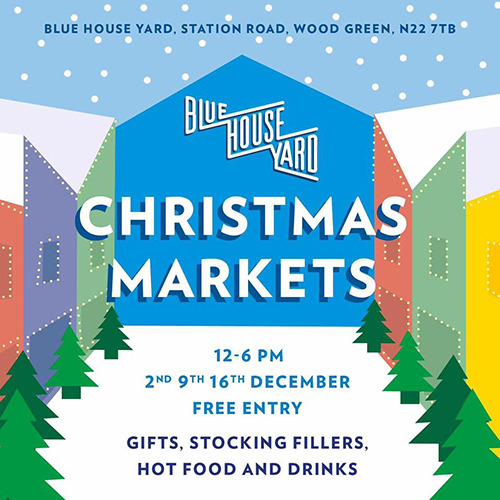
Blue House Yard Saturday Market
Hey ho guys! I hope you’re all doing well despite the freezing cold weather, which I’m currently loving at the moment (sarcasm here). I though I’d write up a quick post about last week’s Blue House Yard Saturday Market as it turned out really well.
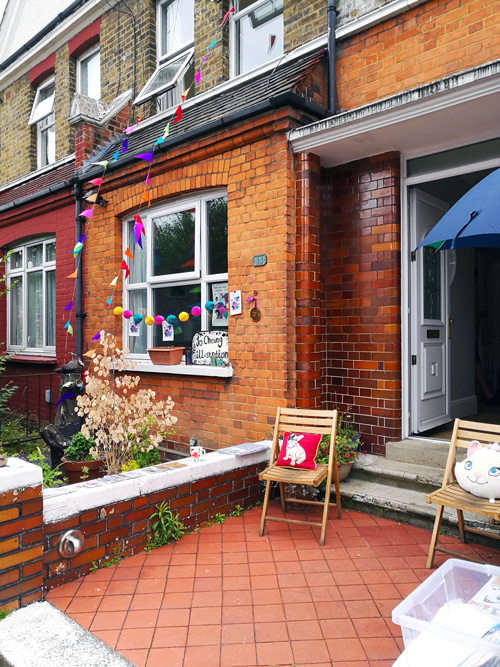
So I was there early-ish to set up- it always takes longer than I always expect it to. TBF, I spent the first 10 minutes faffing around and trying to keep warm! Even though it was really cold (that wind had a proper bite to it) the market was still really busy; it was lovely to see locals passing by the area. I met Sonia Bienek who runs ‘Sonia B Textiles’ as I had a stall right next to hers, so we were mostly chatting away about what we do, paper (standard convo I think with most designers), and generally just sharing our own experiences of selling work. I think when you do markets you always end up meeting people either from different or similar background and you’re all in it together for the day- sharing that moral support/exchange of knowledge with one another is such a humbling experience.
I really enjoyed it and it’s been such a long time since I last did any kind of craft market! It does take a lot of time to prep but it’s definitely pays of in the end.
If you’re planning on doing a market I have a ‘to do list’ on Google Keep as it keeps me focused on what I need to do. Plus it’s easy to tick off things as you’re going along.
Here are some things to keep in mind (btw, the advice below are all my own opinions based on personal experiences from past shows and craft markets):
A Short (& Concise) Guide for Craft Markets:
The first rule of thumb is: don’t leave it to the last minute! I can’t stress that enough as you want to allow yourself time for displays to arrive etc. Panicking and stress is the last thing you want!
Stock
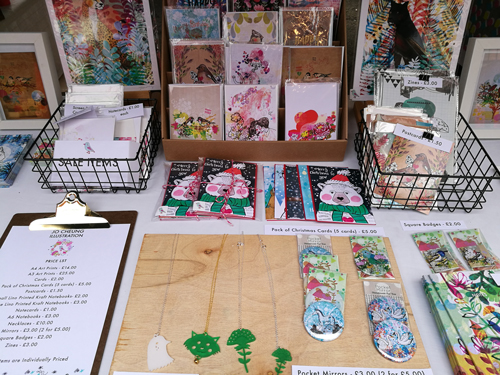
- First up, organise your stock. Always bring more than you need as it’s always better to be over-prepared. I will normally go through what I have and plan to have a range of items starting from £1.50 to upwards of £25.00. Of course, this is dependable on what you make! I also look at who is selling on that day as it gives me a ball-park figure of pricing and selecting stock that sort of doesn’t clash with other sellers.
- Get your cards/prints etc. packaged and labelled up. So if it means buying extra cellophane bags or ordering more stickers online then aim to do that a few weeks before the market starts. Have your prints backed up using sturdy heavy-weight card or paper.
- Bring paper bags or boxes with you so that when people buy a couple of items they can take their wares away safely. Some customers will say no to a bag if it’s a small item.
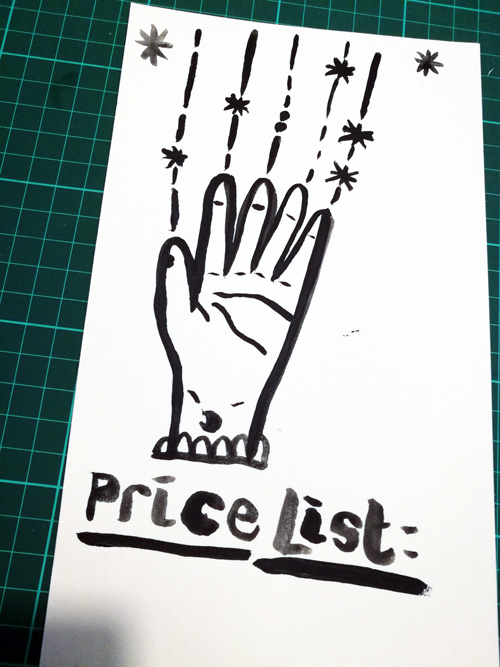
- Have a price list ready as well as price tags for all your items. I printed everything out and then clipped them to the actual products using small bulldog clips as it was super windy on Saturday. Thanks Sonia for the handy tip!
Presentation and Setting Up
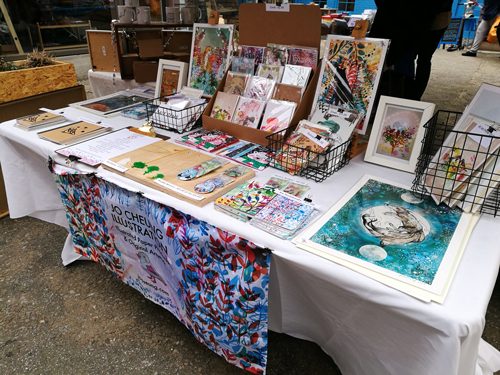
- I did spend sometime looking online on Pinterest and other craft fairs for some inspiration. I liked the look of simple wire frames to hold my cards and prints, which I bought from Flying Tiger. You can also try Ikea or your local charity shop for something slightly different e.g. wooden boxes can double up as an extra stand. I’m not super handy when it comes to DIY (I wish), but you could make your own table stands or magazine rack to save on costs as well as having something unique. I also went on Renegade Craft Fairs Tips and Tricks section for more ideas about layout and presentation.
- I bought a white sheet from my local fabric shop on Turnpike Lane (£8.00 for 4 meters of fabric. Not bad, like). Tables are often grotty so having a nice clean sheet to make your products look nice is important.
- I said previously I didn’t do a mock up as I already had in mind how I was going to display my wares. If you have the time and the room I would do it anyway and take a couple of photos so you have something to refer to.
- I went on eBay and ordered a cardboard card rack to display my greeting cards. It was worth the money as it gave that extra height and appeal to my stand.
- Get your promo things printed and done such as business cards, promotional postcards/stickers.
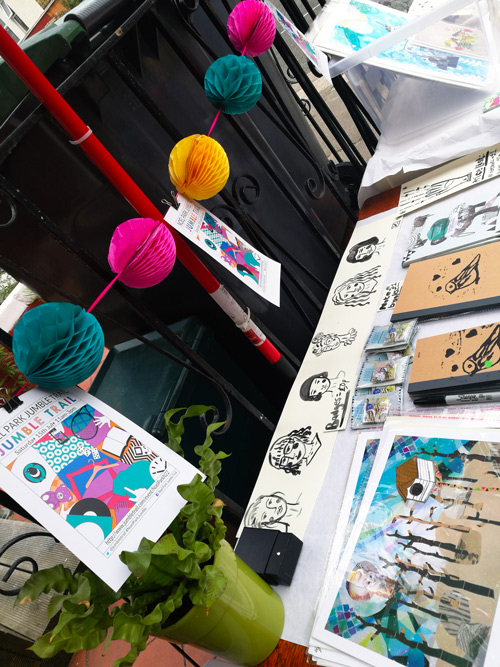
- Have an eye-catching banner that represents your work and business on display!
Other Things
- Check the weather. Yes, check the weather! I wasn’t prepared on how cold it was going to be. Layer up as the days get colder and bring a cardboard box or a rug to stand on. I have a fold-away camping stool which fits nicely in my suitcase, although I didn’t sit down as I was standing and moving around just to keep warm!
- Have pens, pins, clips, paper ready on you.
- Compile a stock list so you know what you have on the day.
- I don’t have a card reader, not like it was a hindrance, but perhaps it’s something worth considering if you do craft markets on a regular basis.
- Have water and snacks on you to keep you going throughout the day.
- Keep float money on you. £10 in change is max for me.
- Most importantly, have fun!
I hope you’ve enjoyed reading this and if you have any tips you’d like to share then please leave a comment below. I’ll be back at Blue House Yard for their Christmas Market this coming Saturday (more info here) so do make sure you pop along if you’re in the area.